 Skip to main contentSkip to footer
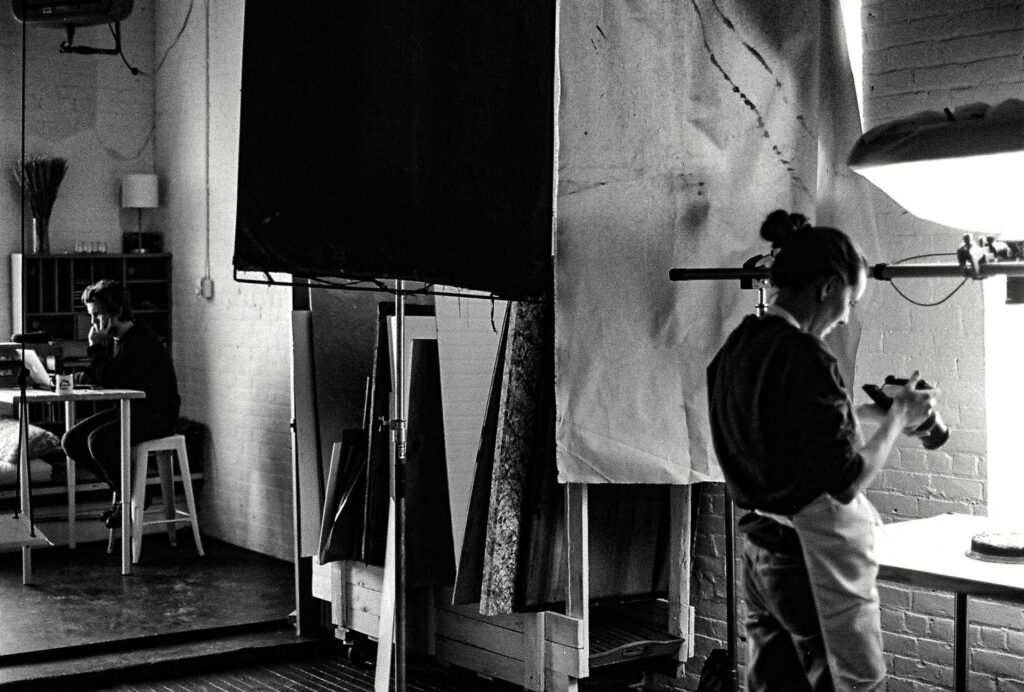
Product photography may not seem hard at first, but many photographers struggle with lighting and finding the right composition to pull off those amazing shots. Product photography can make or break a product’s appeal, social media marketing, and sales. So if you are a beginner product photographer, there is a lot that you need to know before you will be taking high-quality images, and charging appropriately for it.
Here are 9 helpful tips for beginner product photographers:
- Have the proper equipment, including lighting and a tripod.
- Set up your studio with backgrounds, props, and lights.
- Use manual settings on your camera.
- Target your photographs to your audience.
- Try both artificial and natural lighting.
- Take a class or online course on photo editing.
- Don’t add props that may distract from your product.
- Stick with a neutral background and keep it simple.
- Continuing learning about product photography.
In this article, we’ll go over some product photography tips for beginners that will help you understand product photography and improve your skills.
Once you are familiar with these tips, some resources at the end of this article will help you further understand product photography and how you can be successful as a beginner.
Table of Contents
1. Have the Proper Equipment, Including Lighting and a Tripod

Have you ever tried to nail two pieces of wood together without a hammer? Having the right tools for the job, particularly in product photography, is critical to taking the best images possible. Product photography is all about light, and the right equipment will help you achieve your desired results.
While it may seem obvious that you need a camera and something to set your product on, other equipment is important if you want to create a good product photo.
According to Masterclass, you will need a minimum of seven items to take good photos::
- Camera: Use a high-quality camera and make sure you are familiar with all of the manual settings to benefit your photography.
- Tripod: Tripods will keep your images consistent and sharp since you will leave the camera in one place as you shoot with as little vibration as possible.
- White Background: White backgrounds will highlight your products best and one of the most common product shots you will take. Learn to master these without resorting to cheap editing tricks.
- Bounce Cards: These will help you reflect your lighting onto the products and fill in light where it needs to be.
- Product Table: This is where you will place your products.
- Tape/Clamps: You will use tape or clamps to keep your background, products, and bounce cards in place. Get lots of them.
- Lighting: There are two types of lighting for product photography: continuous and artificial lighting.
Strobes and speedlites are usually preferred, especially if you have a studio with large windows and need to reduce ambient light. Otherwise, you can use natural lighting if you’re on a small budget.
2. Set Up Your Studio With Backgrounds, Props, and Lights

Product photography can be done in a variety of places, but the most common is indoors in a studio setting. You can take product photos anywhere you want, including outdoors, but there are many products that will look better within a controlled environment where you can dial in your lighting.
You should have your table, background, and lighting set before you start playing with your product’s position and your shadows. Use your camera to take some shots from different angles until you find a setup that works for you.
Once you decide what angles are best, set your tripod up and begin your shoot. You should take multiple shots in each position, so you have a lot to work with when you go to edit.
3. Use Manual Settings On Your Camera

You may be tempted to use auto settings on your camera and you could get some good photos, but for the best product photography results, manual settings are key. This means that you will set the aperture, shutter speed, ISO, and focus manually.
There are a few reasons why you want to shoot with manual settings:
- Manual settings give you complete control over your image.
- Your exposure will be consistent.
- Manual focus wont change the focus between shots.
- Manual focus allows you to use “focus stacking” techniques.
- Manual white balance will not change the color tint of your photos between shots.
Each of these affects not only how your image looks but also how it is exposed through light. Each product is different, and you will need to adjust your settings based on the unique properties of each product.
Check out our article on the best camera settings for product photography for more advice.
4. Target Your Photographs to Your Audience

Before you start, it is important to know who your target audience is and what they respond to. Product photography can be created in a variety of ways that may appeal to different people.
For example, a toy set will have a much different audience than a pair of designer heels. Product photography for each of these would need to be shot in a different way.
If you keep your audience in mind during the setup process, through the shoot itself, and into the editing process, it won’t be difficult to adjust the presentation of your products to be the most appealing.
5. Try Both Continuous and Strobe Lighting

Lighting is one of the most important parts of product photography:
- If your photos are too dark, the product and its details will be hard to see.
- If your photos are too light or bright, you will wash the product out and lose colors.
Balancing your lighting is important, and you should always test out different lighting before you start taking your photos.
As mentioned above, there are two types of lighting: continuous and strobe. If you can, use both and try both to see what works best for the product. If you only have natural lighting, make sure you know the best time of day to do your photoshoots.
Finally, if you only have artificial lighting, be familiar with all of the settings and options available to you. You will want to play around with the artificial lighting for each shoot, but not so much that you are wasting time if you do not know what lighting would work best.
6. Take a Class or Online Course on Photo Editing
Your photos are not complete after the shoot. You will need to learn how to edit them before you can use them as a finished photo for either your e-commerce store or delivered to a client.
There are plenty of photo editing software that you can choose from, so it is important to play around with a few before deciding which one works best for you. We use Adobe Photoshop.
Once you choose an editing software, you can find many resources online about how to use it, what settings are best for product photography, and some tips and tricks that will make your photos look even better.
If you’re a total beginner, consider taking a course to help in your learning. There are several well-reviewed courses for purchase at Udemy.com. Alternatively, try looking on YouTube for some free resources.
The video below has almost 30,000 likes and goes over everything a beginner needs to know when using Adobe Lightroom:
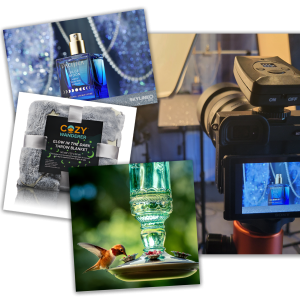
7. Don’t Add Props That May Distract From Your Product

When shooting product photography, you may use other items or colorful backgrounds to enhance your photo. It is important that these items add to the feature and not detract from it.
Flowers, fruits, pieces of paper, toys, etc., all make great additions to product photography – but only if they work with your product. Otherwise these items are usually ignored by customers and may even distract them from what they came to see.
Try taking multiple photos with different variations of props to see what looks best. If you add too many things, it can be an overwhelming image that does not highlight the product you are photographing.
On the other hand, you may need something to compliment the product so that it pops better. Again, we’ve written a resource on product photography props that explain things in more detail.
8. Stick With a Neutral Background and Keep It Simple

Sometimes you may not know the best way to make a product look the best and wind up overthinking the props, backgrounds, and lighting. Product photography can be a complicated process, with many moving parts.
The solution is to keep it simple. Use a neutral-colored background, usually white, and reset your lighting too.
While you want to have some fun with your product photography sets and designs, sometimes the basics will produce the best results. Do not overthink your set to the point that you are frustrated. Just start over and use something simple.
9. Continuing Learning About Product Photography
Once you master the steps above, you will want to keep learning and growing as a product photographer. Product photography is an art that continues to evolve and improve. Product photographers never stop learning new tips, tricks, and trends.
These books from Amazon.com will take you from beginner to a skilled product photographer in no time:
- The New Lighting for Product Photography: The Digital Photographer’s Step-by-Step Guide: This book has everything you need to know about taking product photos. You will learn how to make your image stand out and make it look best to the people who will see your product photos.
- The Digital Darkroom: The Definitive Guide to Photo Editing: This book will help you learn how to edit your photos, use two different editing software, and use step-by-step guides to teach you the most important editing techniques.
- Product Photography Magic: This third book has many secret tips and tricks used by a seasoned product photographer. Beginners will find the most benefit in this book, but any product photographer will learn something new.
In fact, we’ve written a guide on the best books every product photographer should read.
Key Takeaways
Learning the basics of product photography is important for beginners. Even with the best camera around, knowing how to shoot your products is only half the battle.
You also need:
- The proper equipment.
- To know how to use the equipment.
- To edit your images for a good final product.
If you are working in a studio, it might be best to start out with a simple setup. Play around with your lighting until you find the right shading and angles to make your products look their best.
Once you get into the swing of things, consider adding props and a fun background – but be sure you don’t overdo it. The idea is to use complimentary colors and props that will help your customers better visualize your products.
After you master these helpful tips, you can continue learning about photography and editing with the books recommended. If you keep learning and practicing, you can continue to improve your product photography skills.

