 Skip to main contentSkip to footer
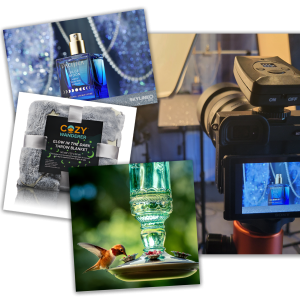
Product photography is a crucial part of any successful ecommerce business. It can be used for marketing, branding and conveying the product’s quality. We all know that photos are worth 1,000 words, so it’s important to take your time when you are photographing your products.
Product photos highlight the product’s quality and also act as windows into any e-commerce business. They show transparency and can increase confidence in the business. Although some people stick to a certain type of product photography, there are several options available to you. That said, there are 7 types of product photography which require different skillsets and equipment.
The most important types of product photography are:
- White background/catalog shots.
- Designer listing shots (white background).
- Composited shots.
- Hero shots.
- Advertising shots.
- In-context (lifestyle).
- Informational (detailed) shots.
This post will discuss seven different types of product photography and how anyone can take great product images, including complete novices.
Table of Contents
1. White Background/Catalog Shots

White background photography is the most often used backdrop for product photography.
It is a very simple way to get professional looking product images and many e-commerce platforms require them. A white background might seem like an easy backdrop, but getting it right requires knowledge about how light works, as well as experience for setting up your shots. Some businesses don’t know how to do this type of product photography and end up spending a lot of time shooting without getting the results they want.
Catalog images are intended to demonstrate the goods clearly so that the consumer may make an informed decision. However, if you’re trying to compete on marketplaces like Amazon, Etsy, etc., it is critical that these product photos are attractive and grab attention, which is where “Designer Listing Shots” come in.
How To Do White Background/Catalog Product Photography
You can produce catalog product photos via the use of a real white background or post-production by using a large white seamless backdrop and attach it to a wall or stand.
Set up your lighting on the background, which should be bright enough to overexpose it but not too harsh as to affect the product. You want the product to have separate lighting, so adjust lights if needed.
You can also select the background and delete it from the image using Photoshop or a similar tool. Below is an example lighting setup we created to get products on a white background without much post production.
2. Designer Listing Shots (White Background)

The one challenge when photographing products for e-commerce is that your product images have to look good in thumbnail. This means you have less than two seconds to attract a customer and convince them to buy the item. To achieve this, avoid using cliché product shots.
The designer listing shot is a type of product photography that is intended to meet the technical requirements of Amazon while still promoting creativity and establishing a good first impression.
While it is still a white background product shot, its purpose is to grab attention and get clicked on while surrounded by your competitors.
How To Take Designer Listing Photographs
To create high-quality listings, designer shots depend on the six aspects of photography. However, to retain the clean mood, the goods are photographed on a white backdrop.
Take photos from multiple different angles with various compositions. Find what looks natural and appealing, and even consider suspending the product to give it an illusion of action.
In most cases, you will need to do a bit of post production work to enhance the color, brightness and contrast of the product and to remove the background altogether. Below is an example video of a designer listing shot we made using a set of toothpicks.
3. Composited Shots

Composite product photos are created by combining two or more pictures into a single idea. The objective of this technique is to create an illusion of a scene that existed even when it was not in front of your camera.
This technique is often used by professional product photographers to capture specific details of a product under various lighting conditions.
How To Make Composite Shots
It is important to have a solid composition before even thinking about composite shots. It is the solid composition and good lighting that will ensure your photo comes out high quality and looking professional. Make sure all light sources are consistent in shade, color, intensity, etc… Be aware of shadows that appear across a surface.
You’ll need to use photo editing software, such as Photoshop, to create a composite picture. All you have to do is position the source picture in front of the other open images and reveal aspects of each layer that you’re interested in. Below is a long form tutorial of compositing multiple images into a single product photo.
4. Hero Shots

The Hero Shot is a vital way to convey your product in an engaging and creative manner.
It’s been used for years by the Cinematography industry, which means either the first appearance of main character or one of many crucial shots on their web landing page. For E-commerce businesses, “Hero Shots” are central images that carry the most significance to showcase a product’s quality.
A hero shot is often most used as the centerpiece of a product page and social media. This type of shot undergoes the most care by a professional photographer that manages every detail to the highest of quality, from packaging to dust removal.
A great hero shot should communicate its brand clearly with vibrant photographs that will attract the most attention. The idea here is to leave an impressionable image in the mind of your customer. This comes from technical quality, excellent composition and impeccable product photography production.
How To Photograph a Hero Shot?
Just like the name implies, Hero Shots are all about showcasing your product in its best shape and form. The key to a good hero shot is attention to detail with every single aspect: lighting, background and styling of your product’s packaging.
A spectacular hero shot has several traits:
- Best Sample. The best product sample or prototype should be used for the shot. Avoid using products with scratches, tears, and misaligned labels.
- Perfect Lighting. Each aspect of the image should be illuminated and balanced. This includes product, background, foreground etc.
- Perfect Composition. The shot must be aesthetically pleasing to the viewer’s eye with attention paid to each detail/object in frame. Many hero images are taken at an angle slightly below the bottom of the product to make the product appear heroic.
- Perfect Styling/Positioning for Packaging. All elements of box or packaging should be visible while using flat planes of color as backgrounds
- Flawless Detail. Time should be spent in post production ensuring that each aspect of the hero shot is flawless, including labelling and other minutia.
5. Advertising Shots

Advertising photographs are more concerned with grabbing your ideal customers attention to make them stop scrolling, either on a web page or on their mobile devices. It is far more promotional than the other types of product photography in this list, but may incorporate many of the concepts of the hero shot or Lifestyle images.
As an advertising photographer, you are still selling merchandise, but you are using your images to create a narrative that increases the attraction of that product. You’re encouraging someone to stop what they are doing and go to your landing page to make a purchase or learn more about how your brand can help them.
When it comes to advertising photography, you should constantly ask yourself, “Is this image congruent with my brands message?” It’s always best to remove any images that do not quite suit the theme.
How To Take Advertising Shots
Similar to hero shots, each photo you take sells not just your goods but also your company’s brand.
It’s critical to match your pictures to the lifestyle of your company. A significant component of a successful advertisement photo shots highlighting the items and the people who will use them.
Steelhouse notes that one of the most effective methods to differentiate your advertisements and goods is to add perceived motion. Allowing your audience to interpret action enables them to see themselves doing the activity while utilizing your product.
When setting up your compositions, leave plenty of room for ad copy and any messaging you want to convey.
6. In-Context (Lifestyle)

Of all the types of product photography, Lifestyle product shots can be the most creative and most difficult. It involves shooting your product in a real-life setting, which is the best way to show off your product. It can be very tricky to get it right and often involves hiring models, building sets or scenes, and styling props.
Professional photographers attempt to make lifestyle shots seem absolutely candid, especially when it incorporates people. Essentially, it’s about capturing photographs that are as natural as possible, accurately portray people with their personalities, and demonstrate connections.
In all cases, staging the product in a natural environment within the context of where, or how, the product is generally used is the goal.
How To Take Lifestyle Photos
For lifestyle product images, you must invest time in learning about the product. It is necessary to acquaint yourself with the product’s intended function and target market to create the optimal photograph.
Once you’ve determined its objective, include these aspects in your photograph. For instance, rather than shooting a face scrub, take photos of models washing their faces with the product and use your imagery to tap into the emotions of the intended outcome.
Additionally, a significant part of lifestyle photography is capturing the details. If your product has distinctive accents or a unique build, some photographs should emphasize these features. Check out our article on lifestyle product photography for more info.
7. Informational (Detailed) Shots

If you’ve been around online stores lately, no doubt you may have noticed that the higher end brands use lots of close-up, detailed shots of their products, packaging, and even the product manual. Why? Because this type of shot is very useful to the potential buyer, showing them exactly what they’re getting and helping to sell the perceived quality of the item.
Psychologically speaking, detailed shots trigger a sense of ownership with online shoppers, making them more likely to make a purchase.
Detail shots concentrate on a small area of the product. Detailed shots may also be composite photographs that call attention to a particular characteristic of the product.
The more visual information a prospective buyer gets, the more inclined he or she is to purchase. Google suggests that the product should take up at least 75% of the whole picture, but not more than 90%.
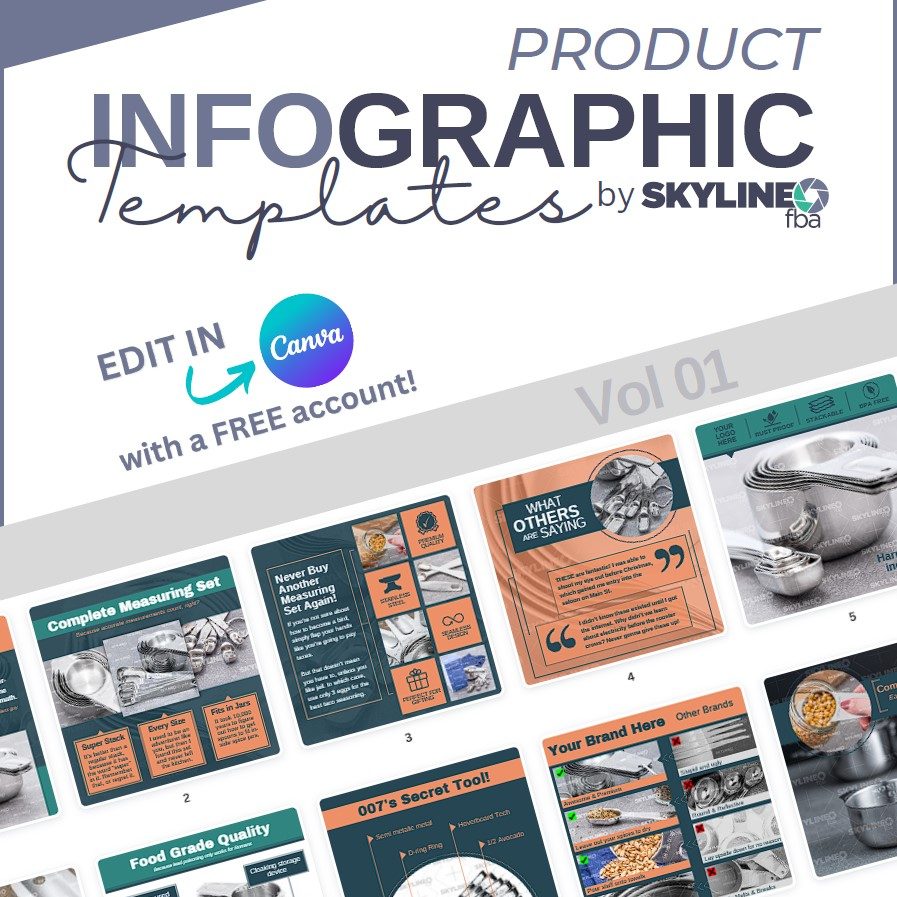
Additionally, these types of shots are usually composed with infographics in mind, where more information at a glance can be gleaned or explained within the shot itself.
We have combined many of the most popular infographic designs in our product infographic template pack, available for commercial use here.
How To Take Detailed Shots
Of all the types of product photography, detailed shots will likely require a Macro lens so you can get very close to the product and fill the frame with details. At the very least, you will need to arrange your product so that it is placed against a neutral background and lit well enough for you to see all the different intricacies of the product.
When photographing a single detail, ensure that your attention is on making a solid picture. Due to the restricted subject matter, the quality of your photograph will be determined by its composition and effective use of light and color.
In many cases, it’s okay to use a wider aperture below f/8 to focus on the details you want the viewer to see.
Final Thoughts
In this post, you learned about several types of product photography that every professional product photographer needs to master, especially if you have an e-commerce store and want to do this work yourself.
In addition, you learned about some helpful tips on infographics and detail shots. Keep these ideas in mind when planning your next shoot so that you can produce professional quality images that resonate with your potential buyers, leading to more sales for your business!
If you’re in need of high quality product photos that convert and would like to hire a professional, contact us today to order your next photo shoot!

