 Skip to main contentSkip to footer
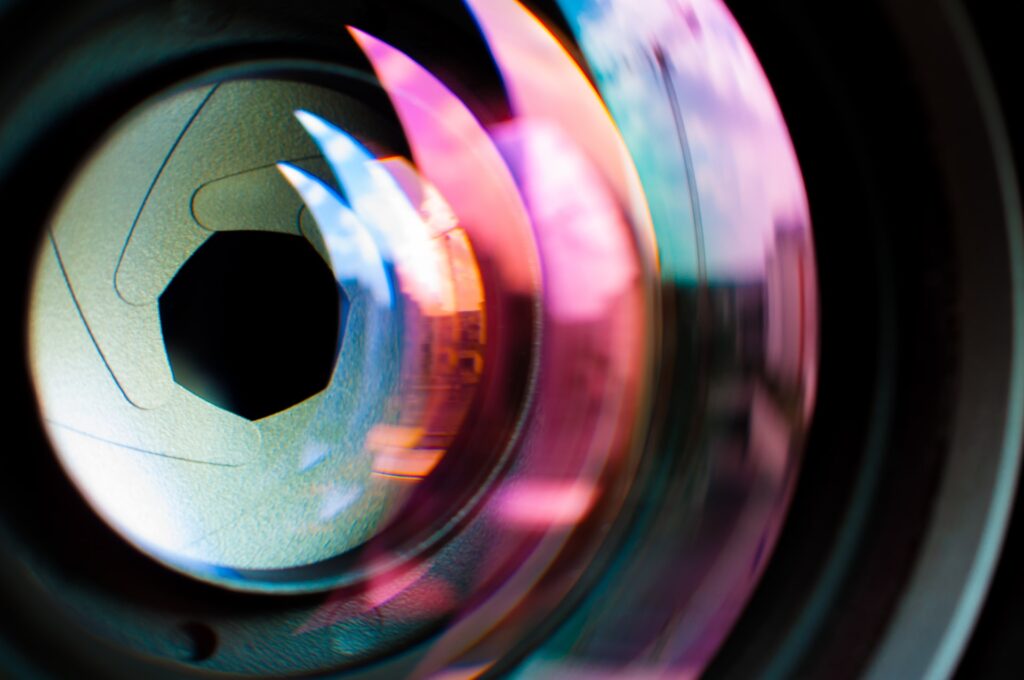
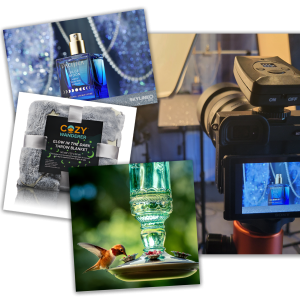
Need to know how to get the best product shots? With a little knowledge of photography basics, you’ll be able to produce beautiful, professional-looking images. The good news is that whether you’re a professional photographer or not, you can make your work look incredible with the right equipment. One way to ensure that any snaps of your products look great is by selecting the correct aperture on your camera.
The aperture in a camera controls what will be in focus and what won’t. When taking product photographs, what you are trying to do is ensure that the entire product is in focus.
To select the best aperture for product photography:
- Choose an aperture between f/8 and f/16.
- Use manual mode to select and adjust the settings.
- Use a lower aperture for added depth of field.
- Make sure your photograph is not overexposed.
- Fix brightness issues by adjusting ISO or shutter speed.
This article will offer more information about what aperture is and how to select the right one for your product photography. We’ll then cover other important photography elements like ISO and shutter speed and include a few quick tips to help make your photos look fantastic.
Also, be sure to check out our post on the best camera settings for product photography for more in-depth information!
Table of Contents
1. Choose an Aperture Between F/8 and F/16
A camera’s aperture describes how much light enters the lens, and it can be controlled with aperture-priority mode, automatic mode, or by manual adjustment.
The best aperture for product photography is a small one, ideally between f/8 and f/16, depending on depth of product. The whole product might not be in focus below f/8 and a larger aperture can blur the photograph too much, meaning the details of the product aren’t clear.
When it comes to product photography, aperture is critical, and it’s part of what is known as the “exposure triangle,” made up of three different elements:
- Aperture
- Shutter speed
- ISO – the camera’s sensitivity to light
To take the perfect photo, you must get each of these numbers precisely right. Here’s what you need to know:
An aperture of f/8, for example, will give more depth of field than an aperture of f/2.8 or f/4. If there are multiple objects in the frame that will be in focus, then opt for something between the numbers listed above.
Understanding F-Stops
Aperture on cameras is defined in numbers known as f-stops or f-numbers. The letter “f” will come before the number, and this range on a camera is usually between 1 – 22.
Each time the aperture doubles, it means that quadruple the amount of light can come through the camera’s lens.
For example, a setting of f/22 will mean 1x the relative amount of light that can come through the lens opening, and a setting of f/11 means the camera lens can pick up 4x the relative amount of light.
Understanding aperture size can be a little bit confusing if you’re new to photography. This is because the bigger the number, the smaller the aperture.
For example, an aperture of f/8 will mean the lens is open more than an aperture of f/16.
You can find the information about what aperture is currently selected on the display on your camera.
2. Use Manual Mode To Select and Adjust the Settings
Manual mode offers you the most control and is recommended for those with more photography experience. If you can use manual mode for your product photography, you certainly should.
To choose the best aperture for your product photography:
- Use manual mode on your camera and choose f/8 to start.
- Make sure your product looks appealing and that all pertinent details are in clear focus.
- If the whole product is not in sharp focus, choose a smaller aperture until you see the best image.
3. Use a Lower Aperture for Added Depth of Field
You can use lower aperture settings for product photography – below f/8 – if you want to remove a distracting background or focus on a specific detail.
For example, you might be photographing an item of clothing with some fancy buttons and want a shallower depth of field to show that off.
Depth of Field
In photography, depth of field means how sharp the distance between the closest and farthest objects in the photo is. A lower aperture means the background of a photograph will be out of focus and blurry.
This isn’t necessarily a mistake, though, as it can help highlight the subject in the foreground and is actually quite visually pleasing in a lot of situations.
A small aperture means the background of a photograph will be sharp and in focus. This is desirable for things like landscape photography.
The second reason for using an aperture setting lower than f/8 for your product photography is if you’re unable to shoot on a plain background. An aperture setting of f/4 can be a good way to blur the background and bring focus to your product.
4. Make Sure Your Photograph Is Not Overexposed
In simple terms, exposure is how bright your photographs are.
Larger aperture settings make photographs brighter because more light is let into the lens. Smaller aperture settings make photographs darker because less light is being let in.
When choosing your aperture setting, make sure it’s right for the amount of light in the area. If you’re taking a photograph on a sunny day, for example, you don’t want an aperture setting that’s too large because the photograph may appear washed out.
In contrast, using a larger aperture at night can make sure the details of your photograph show up correctly.
5. Fix Brightness Issues by Adjusting ISO or Shutter Speed
When photographing products, it’s always best to use a tripod to stabilize your camera; otherwise, you can end up with a blurry photo because of the movement of your hand.
If you are taking product photos without a tripod, you can up the shutter speed to compensate for this. Not only that, but adjusting the shutter speed, along with the ISO settings, can help to correct brightness issues.
ISO Speeds
ISO in a digital camera is a way to control the brightness of a photo, and is basically the sensors sensitivity to light. The different levels of ISO values are also known as ISO speeds.
A higher ISO speed will mean a brighter photo, but too high a speed can cause unwanted grain (also known as noise). Sometimes this can be used as an artistic effect, but it’s something to avoid for product photography. Generally, an ISO should be set to around 100 for the cleanest image.
Shutter Speed
Shutter speed on a camera is the measurement of the time that the camera’s shutter is open. The shutter on a camera is what opens and closes to allow certain amounts of light into the lens.
For product photography, it’s best to use a lower shutter speed if you are shooting with natural/continuous light. This can help to brighten your photos as you’re typically using a smaller aperture.
Product Photography Tips

Understanding the exposure triangle is the best way to ensure your product photography is high-quality. However, there are a few other things you can do to make it look even better:
- Use flash. You’ll often hear this advice from many professional photographers: avoid using flash because its lighting tends to be uneven and “harsh.” But this isn’t really the case with proper equipment. Strobes and speedlites allow you complete control that gives you consistent lighting, something that you can’t get with natural light.
- Set your white balance. The white balance ensures that the colors in your photograph are displayed properly. You can use your camera’s automatic white balance setting, but you’ll end up with every photo being a slightly different color. Instead, set this manually using a preset or grey card.
- Use optical zoom. Optical zoom is a much better choice than digital zoom because it won’t reduce the image quality. Zooming in on the product can also get rid of any distortion problems caused by a wide-angle lens.
- Use Depth of Field. Sometimes you’ll want to call attention to a specific area, and one of the best ways to do this is by using a larger aperture to focus on the parts you want, and blur out the parts you don’t.
Final Words
It’s important to get the aperture right when it comes to product photography, and in general, smaller apertures are best as they will allow all of the product you’re photographing at any given time. But there is always more than just that: make sure your ISO speeds match what you need for good exposure, as well as having a shutter speed appropriate for the scene you’re shooting.
Finally, remember that you can do what’s needed to take your product photos from good to great by adjusting white balance, using the right ISO speeds and using an optical zoom.
It all comes down to what you need for what you’re trying to shoot, and what works best in a particular situation. And you can learn more about that by checking out our post on the best practices for product photography!

